

Have you ever thought, “I wish I could make sushi at home?” Good news: you can definitely do it! You can make delicious restaurant-style Sushi Recipe at home with just a few basic ingredients and some practice.
It can be a little tricky to make sushi at home, but honestly, it’s quite fun and a little easy when you make it your own way. It’s surprisingly easy once you get the hang of it. Whether you like California rolls, tuna rolls or veggie sushi—this guide will teach you how to make rolls like a damn pro.
Let’s start making sushi – from perfect sticky rice to rolling, slicing and serving, just like a real sushi chef (itame)!
What is Sushi?
Sushi (寿司) is a traditional Japanese dish made of rice that has been somewhat flattened. Seafood, veggies or other fillings are all wrapped in a thin layer of seaweed (nori). Many people think that “sushi” implies raw fish, but it really signifies the sweet and sour rice that is a big element of every sushi.
A bite of sushi is a perfect combination of sweet, salty, sour and umami flavors and its simplicity is its beauty.
Ingredients You’ll Need
You don’t need to be a trained chef to make sushi rolls at home. Here’s everything you need.
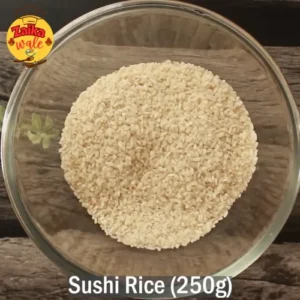
For Sushi Rice:
- 2 cups of short-grain Japanese rice for sushi
- 2 ½ cups of water
- ¼ cup of rice vinegar
- 1 teespoon salt
- 2 tablespoon sugar
For Rolling:
- 5 sheets of nori (dried seaweed)
- A sharp knife and a bamboo sushi mat (makisu)
- Optional plastic wrap to keep things from sticking
For Fillings (Choose Your Favorites):
- Sliced fresh cucumber
- Sliced avocado
- Cooked shrimp or imitation crab
- Smoked salmon or raw tuna (only sushi-grade)
- Cream cheese (for fusion-style rolls)
- Carrots, bell peppers or pickled radish for vegetarian rolls
For Serving:
- Soy sauce
- Wasabi
- Pickled ginger (gari)
- Sesame seeds
Preparation Time:
- Prep Time: 30 minutes
- Cook Time: 20 minutes
- Total Time: 50 minutes
- Servings: 4
How to Make Sushi Rolls Step-by-Step
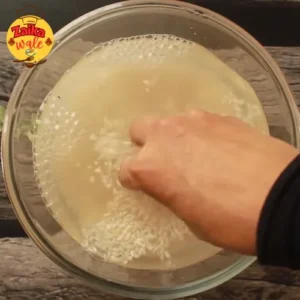
Step 1: Cook the Sushi Rice
- Rinse the sushi rice in cold water until the water runs clear. This gets rid of any extra starch.
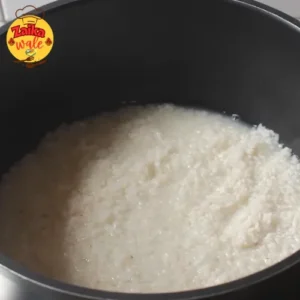
- Put the rice in a rice cooker or pot with 2 1/2 cups of water and cook it until it is soft.
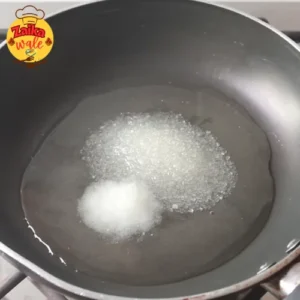
- Mix the rice vinegar, sugar and salt in a small pot. Warm it up just enough for the sugar to dissolve.
- Use a wooden spoon or spatula to gently incorporate this mixture into the rice that has already been cooked.

- Don’t crush the grains!
- Put the rice on a tray to cool down a bit before rolling it.
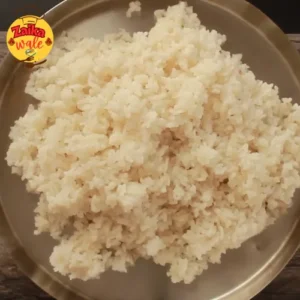
Tip: Sushi rice should be slightly warm and sticky when used — not hot or cold.
Step 2: Prepare Your Fillings
- Cut your vegetables, seafood and other contents into thin, even strips.
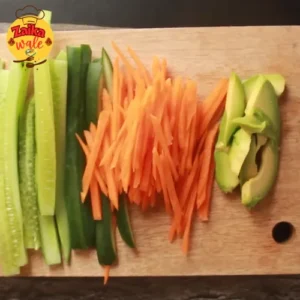
- Put everything in small Bowl so it’s easy to put together.
You may get creative and add cooked shrimp, grilled chicken, spicy mayo, or even tofu to make vegetarian sushi.
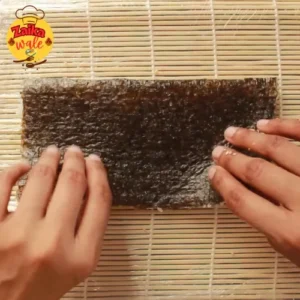
Step 3: Set Up Your Rolling Station
- Put a bamboo sushi mat on a clean Surface.

- Put a sheet of nori on top, shiny side down.
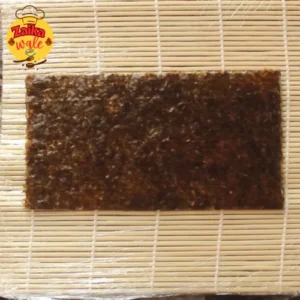
- To wet your fingers, Keep a small bowl of water close by.This keeps the rice from sticking.
Step 4: Spread the Rice
- With moist fingers, distribute about 3/4 cup of sushi rice evenly over the nori, leaving a 1-inch strip at the top edge naked.
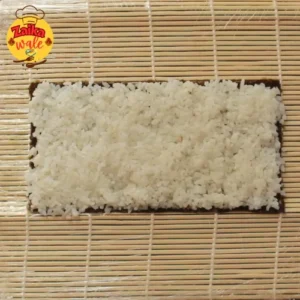
- Don’t push down on the rice too hard; it should be light and fluffy.
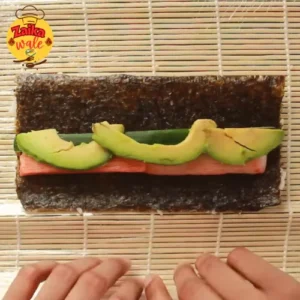
Step 5: Add Fillings
- Put the fillings you want in a line across the Middle of the rice.
- Some common Combinations:
- California Roll: Crab, Avocado and cucumber
- Philadelphia Roll: cream cheese, smoked salmon and Cucumber
- Veggie Roll: Cucumber, carrot and Avocado
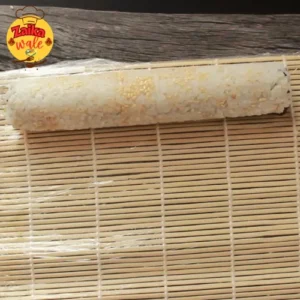
Step 6: Roll the Sushi
- Lift the edge of the bamboo mat closest to you up and start rolling it tightly over the fillings.
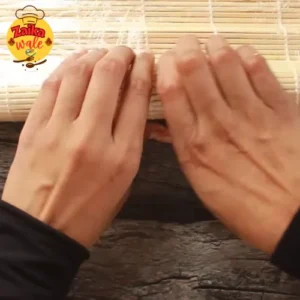
- To shape the roll, press down gently but firmly.
- Keep rolling until the seam is closed. You can hold the edge of the Nori with a little water.
Option: To make Inside Out Sushi Rolls (Uramaki).flip the nori over after adding the rice.This will place the Rice on the outside.
Step 7: Slice and Serve
- Cut the roll into 6 to 8 equal pieces with a very sharp knife.
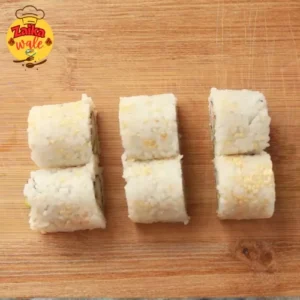
- To keep the Slices clean, Wipe the knife with a cloth that is only a little damp after each cut.
- Put your Sushi pieces in a nice row on a dish, sprinkle sesame seeds on top and serve with soy sauce, wasabi and pickled ginger.

Tips for Perfect Homemade Sushi
- Only use sushi-grade fish if you’re using raw seafood.
- Don’t put too much filler in Rolls less is more for neat rolls.
- To keep rice from sticking, keep your hands wet.
- Put the rolls in the fridge for a short time before cutting them to get nice cuts.
- You get better with practice! Your first few rolls might not look perfect, But they will still taste excellent.
Types of Sushi You Can Try at Home
| Type | Description |
|---|---|
| Maki | Classic rolled sushi with rice and fillings wrapped in nori |
| Uramaki | Inside-out roll with rice on the outside |
| Nigiri | Hand-pressed rice topped with fish |
| Temaki | Cone-shaped hand roll |
| Sashimi | Slices of raw fish (no rice) |
Storage & Leftovers
While fresh sushi is the Best, here are some ways to do with leftovers:
- Store them in the refrigerator for up to 24 hours in an Airtight container.
- Avoid freezing sushi rolls.
- Don’t keep sushi with raw fish for too long, Eat it the same day.
Once you master the basic roll, the possibilities are endless!
Why You’ll Love Making Sushi at Home
- You choose fresh, clean, and affordable ingredients.
- Making sushi with friends or family is a fun and participatory way to cook.
- You can mix and match flavors on your Own.
- Eating sushi at home is a lot Cheaper than eating it out.
Not only is homemade sushi wonderful, but it’s also fun to make. Every roll will show how happy you are with your hard work and ingenuity.
Nutrition (per serving)
- Calories: ~350
- Protein: 14g
- Carbs: 50g
- Fat: 8g
Final Thoughts
Making sushi at home isn’t just a chore, it’s a fun experience. Once you’ve made it a couple of times, you’ll realize it’s as easy as making a sandwich—just roll it in rice and seaweed!
So, let’s break the ice, chop up some fresh veggies and fish, and get started making your own yummy and perfect-looking sushi!
The best way to celebrate good food, creativity and moments spent together is by sharing homemade sushi rolls.
Your One-Stop Destination for Every Kind of Recipe
Explore more from our kitchen! Here are some of our previously published blogs you’ll love – filled with easy steps and authentic flavours


